Audit
Under the “Audit” option tab (see figure 20), there are six options to choose from which include “Audit Options,” “Random Audit,” “Full Audit” (Hand Audit), “Full Audit” (PDT Data), “Full Audit Variance” (showing only variances), and “Tablet Audits.”

Audit options
By selecting “Audit Options” the user can establish the parameters they want for conducting random audits (see figure 21). The audit period can be set for days or months, the user can enter the number of items to be randomly selected from your database and set an alarm for when the next audit is to be conducted.
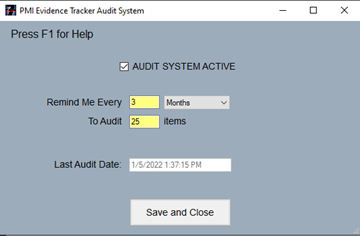
Enter the desired frequency for conducting random audits in the “Remind Me Every” field. Then select either days or months for an outcome of; “’Remind Me Every’ (3) ‘Months’.” Then input the number of items to be “randomly audited.” The application will now remind the users when they should perform a random audit. The software uses a mathematical algorithm to randomly select the items to audit from all the evidence in the PMI Evidence Tracker™ database and record the date of when the last random audit was conducted, the timer will then repeat.
By selecting the “Audit System Active” an alarm will be set to remind the users when the next audit is due. Make sure to save the settings by selecting “Save and Close” before closing the window.
Random Audit (Hand Audit)
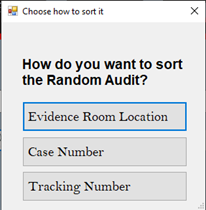
If the user selects “Random Audit” a window with three options will appear (see figure 22). The three options to choose from are pertaining to how the random audit is sorted on the report, “Evidence Room Location,” “Case Number,” or “Tracking Number.”
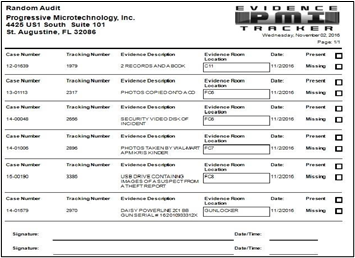
After the user selects one of the three options the report will appear in a new window. The report is designed to show the case number, tracking number, evidence description, evidence room location, and the date the report was executed (see figure 23). Located on the right side of the report are two empty squares, one for “Missing” and one for “Present.” The user will need to print out the random audit report, locate each item and check the item as “Present” or “Missing.” After completing the audit, they will need to return to the computer and adjust the information in the database.
Full Audit (Hand audit)
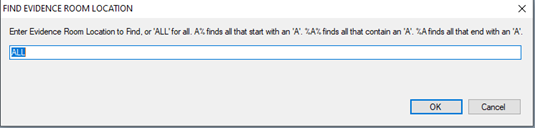
If the user selects “Full Audit,” a window titled “Find Evidence Room Location” will appear with a “search” bar. In the search bar, by default, is “ALL.” The user can simply proceed by selecting “OK” to audit all locations (see figure 24) or the user can alter the parameters of the audit by inserting wildcards (%) and a letter or phrase, such as, %A, %A%, or %Destruction.
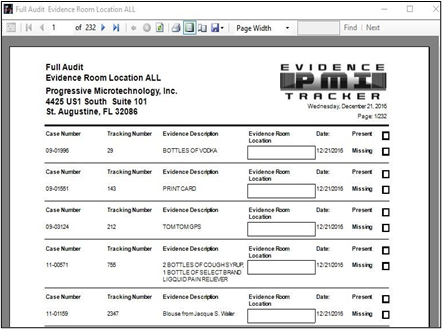
The user conducting the audit will then print the report so that they may conduct the paper audit as explained in the paragraph under (Figure 22). Please pay close attention to the title of each report. The report for Random Audit reflects at the top of the report (see figure 23). The Full Audit report looks the same but is titled differently (see figure 25).
Tablet Audits
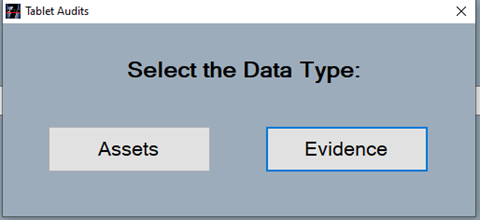
If the user selects the “Tablet Audits” option, the user will be prompted to select either “Assets” or “Evidence” (see figure 26). This option is only available if your department purchased the tablet application software.
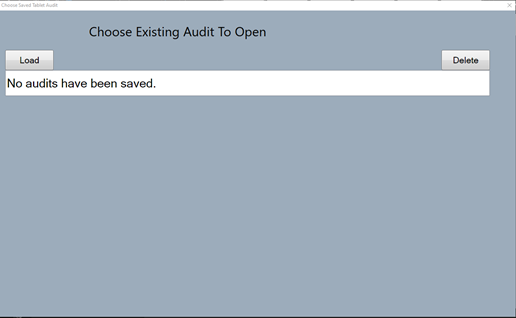
If the user selects “Assets” or “Evidence,” a new window will appear that allows the user to load or delete either an asset or evidence audit (see figure 27) previously saved from an audit conducted with the tablet application. If the user chooses to load an audit, it will show the results of the audit conducted from the tablet after it is synced with the database.